Free help: USER GUIDE
Home > Clients & Profits X User Guide > My > Client Contacts

|
Clients & Profits X Online User Guide |
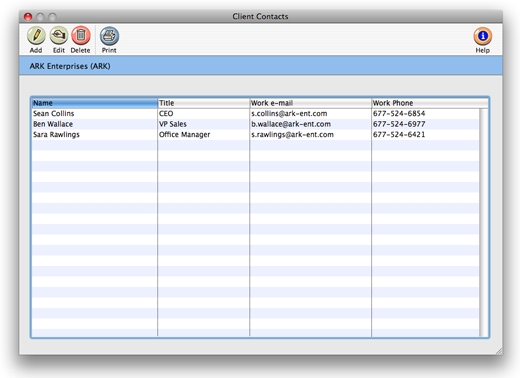
Every person you’ll contact at the client’s office is listed in the Client Contacts window, along with their title, work e-mail, and phone number.
The Client Contacts window is a handy way to find the right person, either by phone or e-mail, since their title is listed right beside their name. With e-mail addresses and phone numbers readily available, you’ll be able to quickly contact the right person -- instead of hunting down someone who might know.
For easy reference, the Client Contacts window lists all client contacts with their title, work e-mail, and work phone number. From this window, you can add, edit, or delete individual contacts, or print the entire list.
Everything you’ll need to know about a client contact is recorded in the Add Client Contact window, including their e-mail addresses, phone and fax numbers, address, and more.
Client contact information is used throughout Clients & Profits. Client information is used for sending Sales>Maker letters and e-mail, as well as copying key information -- the contact’s name, e-mail, and phone number -- to the Clients window. The additional fields included in the Add Client Contact window are designed to help you jot down lots of detail so you can better serve your client.
To add a client contact
1 Click the add button (or choose Edit > Edit Client > Contacts).
2 Enter the client’s first name, middle initial, and last name.
3 Enter the salutation.
Include the greeting, as well as punctuation (e.g., Dear Mr. Smith:). The salutation appears on letters and e-mail sent through Sales>Maker.
4 Enter the client contact’s title.
5 Enter the contact’s work and home e-mail addresses.
6 Enter the contact’s phone and fax numbers.
You can add up to four different telephone numbers, and two fax numbers. Additional numbers can be added to the note window.
7 Enter the contact’s primary address here.
When printing Sales>Maker letters, the address entered here will print on the letters.
8 Enter any notes here about the contact.
The Note field is a great place to add reminders about the individual, such as likes and dislikes, favorite sports teams, who their supervisor is, and other information to help strengthen the client relationship.
9 Enter the date of your last call.
You can also enter the date of your next planned call.
10 Check the appropriate options checkboxes.
The options checkboxes let you indicate whether a client contact is a decision maker, and whether to send them sales e-mail.
11 Click Save.
To edit a client contact
1 Double-click on the contact name (or click on the contact name to select it then click the edit button).
2 Make you changes.
3 Click Save.
To delete a client contact
1 Click on the contact name to select it.
2 Click the delete button (or choose Edit > Delete Contact).
3 Click Yes in the dialog box.