Free help: USER GUIDE
Home > Clients & Profits X User Guide > Setup > Departments

|
Clients & Profits X Online User Guide |
In larger companies staff members are usually organized into departments, such as account service, production/traffic, media, accounting, and administration
Clients & Profits X allows users to be grouped together into departments in the same way. By arranging users into departments, it’s easier to track, compare, and manage the performance of a shop’s different departments. Clients & Profits X supports up to 99 departments per database.
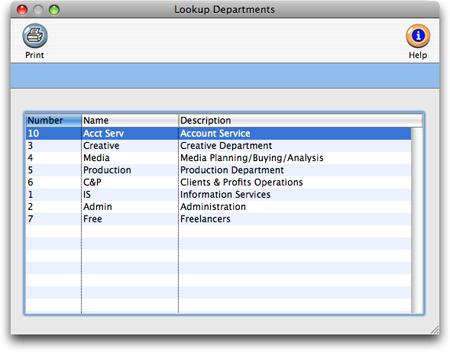
| Lookup departments. Departments can be viewed anywhere in Clients & Profits by choosing Lookup > Departments. |

Departments are indirectly used throughout Clients & Profits. Every user can belong to one department, which is entered in the user’s General access privileges window. A department table can be created with codes and names that describe each department. Each department is identified with a number (from 1 - 99), a short name, and a long description of the department’s function (which is optional).
A department shouldn’t need to be created for each client, since Clients & Profits X already provides productivity and profitability reports by client.
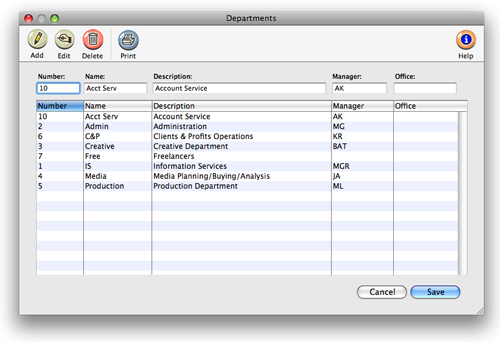
Each department can be assigned a department manager. To assign a department manager, you’ll enter the initials of a Clients & Profits X user into the dept mgr field. This person’s name will appear on most department-oriented reports. If the TimeCop is enabled, the department manager will be automatically notified by e-mail when one of the department’s members haven’t completed their daily time card.
In addition, each department can be given an optional office number. If you’re using Clients & Profits X across multiple offices, this number helps identify the department within each location. If you don’t have multiple offices, the department number can be left empty.
Departments and the General Ledger
The same department table is shared between the General Ledger and the Clients & Profits X user list.
A separate set of G/L accounts can be created to track overhead expenses by department. The department number is appended to the G/L account number (e.g., account 520000 becomes 520000.10 for department 10).
The roll-up option will consolidate department accounts into a master account.
An existing G/L account can be assigned a department if it has no balance. To assign a department, double-click on the account in the Chart of Accounts window, then choose a department from the pop-up menu. The account’s number will be changed to include the department number.
The Chart of Accounts has a special Auto-Create function that clones a set of selected G/L accounts for one department.
To set up departments
1 Choose Setup > Departments
The Departments window opens, listing your current departments.
2 Click the add button.

3 Enter the department number, name, description, manager, and office then click Save.
If you’re creating the department table for the first time, use the Auto-Create Departments function by choosing Edit > Auto Create Departments. It checks the user list for department names, then automatically creates a department record for each one it finds. Each department will be numbered automatically, but that number can be changed.