Free help: USER GUIDE
Home > Clients & Profits X User Guide > Production > Editing, Deleting Jobs

|
Clients & Profits X Online User Guide |
Almost everything about a job ticket can be edited as needed.
Changes can be made to jobs at
any point during its lifetime, as needed. The changes
you make to jobs take affect when they are saved;
so anyone who prints a job report will see your
changes immediately.
All of the job’s details can be changed in the Job Ticket windows. The
different windows let you change different things, such as estimates or schedules.
But most of the job’s key information is in the Job Specifications window.
Here you can change the job’s specifications, dates, job type, and user
fields as needed.
Only the client number and job number can’t be changed in the Specification
window. Once a job is saved, the client number and job number are permanently
assigned to the job ticket and can not be edited. Instead, the re-number utility
must be used.
To edit a job ticket
1 From the Job Tickets window, click on the Specs link.
“Where’s that InDesign file?” When a job is closed, the location of its InDesign layouts, Photoshop images, and other digital files can be stored on the job ticket. The name of the DVD-R, CD-R, tape backup, file server, etc. can be entered into the archived on field. When someone needs a job’s art, they can find its location here. |
2 Make your changes, then
click Save.
You can change the job type/spec sheet once the job is saved. Changing the
job type also changes the job’s user fields, estimate options, and disclaimer
-- replacing what you’ve already entered. However, selecting a different
spec sheet doesn’t change the job’s tasks.
To change the job number
Since a job ticket can contain
hundreds of costs, time entries, and billings,
its job number can’t be simply edited. Instead,
a special Re-number utility changes the job ticket
and all of its activity at once.
1 Choose Setup > Utilities > Re-number.
2 Select the job number option.
3 Enter the job’s current number, then enter the job’s
new number.
4 Click OK.
Renumbering a job can be very time-consuming if it is a very active job. Since
every time entry, vendor payable, check, job billing, change order, and diary
entry needs to be renumbered, renumbering can take several minutes.
To change the job’s client number
The client number
can’t be
simply edited. Since a client’s job could
have dozens of costs, time entries, checks, and
billings, Clients & Profits needs to change
the client number on all of the activity. A special
re-number utility makes it easy.
1 Choose Setup > Utilities > Re-number.
2 Select the one job’s client option.
3 Enter the job number.
Tabbing past the job number displays its client
number (the one that’s
being changed). The new client number will replace the old one on the job ticket,
tasks, costs -- everything except billings, which keep the same client.
4 Enter the job’s new client number, then click OK.
To edit the job photo
Each job ticket can contain a digitized
photograph (from a digital camera, for example)
or scanned artwork. Job photos can be used to document
what was produced, such as a brochure or an advertisement.
These photos can be printed as a catalog of the
shop’s work, for example. The graphic is pasted
into the Work Order window in the same dimensions.
Photos can be copied from any graphics program
then pasted into the job’s work order (see
below). Graphics are not scaled to fit the window.
To edit the job’s work order
A work
order can be printed from a job ticket. The
printed work order can then be distributed throughout
the production department as the job is started.
It gives the production staff everything they
need to know to start the job: client, job name/title,
client contacts, initial budget, start date and
due date, AE/team, the job’s traffic milestones,
and detailed instructions. The work order can
also include a shipping address (which can be
copied from the client’s address) and a
photo or sketch of the work being produced. The
photo/sketch doesn’t appear on the printed
work order; instead, it’s there for an on-line
reference after the job is closed.
1 From the Job Ticket window, find the job you wish to edit.
2 Click the Work Order link or
choose Edit > Edit
Job > Work Order/Photo.
On-line work orders. When account execs update the job’s work order, it can be easily reprinted then distributed throughout the production department. Or, creatives can look up the job’s work order from their own desk using Clients & Profits X. |
3 Make your changes, then
click Save.
Work orders are printed by choosing File > Print Reports > Job Production
or by choosing File > Print Window when the Work Order window is open.
To make a job always unbillable
A job ticket is billable
to the client unless it is specifically marked as “always
unbillable.” This option checks the unbillable
checkbox on the job’s tasks, which make all
newly added costs unbillable. This option should
be set when a job won’t be billed (e.g., new
business, account service, pro-bono, etc.).
1 From the Job Ticket window, click on the Specs link.
2 Click the Always Unbillable checkbox, then click Save.
Changing the always unbillable option doesn’t affect existing costs (i.e.,
if they were billable before, they’ll stay billable; only new costs will
be unbillable). For more flexibility, a job can be set as billable but have
some always unbillable tasks. In this case, selected job tasks can be set as
always unbillable -- while the job is not marked as always unbillable. A job
can have any combination of billable and always unbillable tasks.
To delete a job ticket
A job can be deleted before any
work has begun. But once a job has costs, hours,
or billings it can’t be deleted. This prevents
jobs from mysteriously disappearing with unbilled
costs. Deleting a job is permanent and irreversible.
However, the deleted job’s diary entries aren’t
affected, allowing anyone to see who deleted the
job.
1 From the Job Ticket window, find the job you wish to delete.
2 Click the delete button,
or choose Edit > Delete Job.
![]() Avoid
using the deleted job’s number over again. If a new job is
opened using a deleted job’s number, you’ll see the deleted
job’s diary entries.
Avoid
using the deleted job’s number over again. If a new job is
opened using a deleted job’s number, you’ll see the deleted
job’s diary entries.
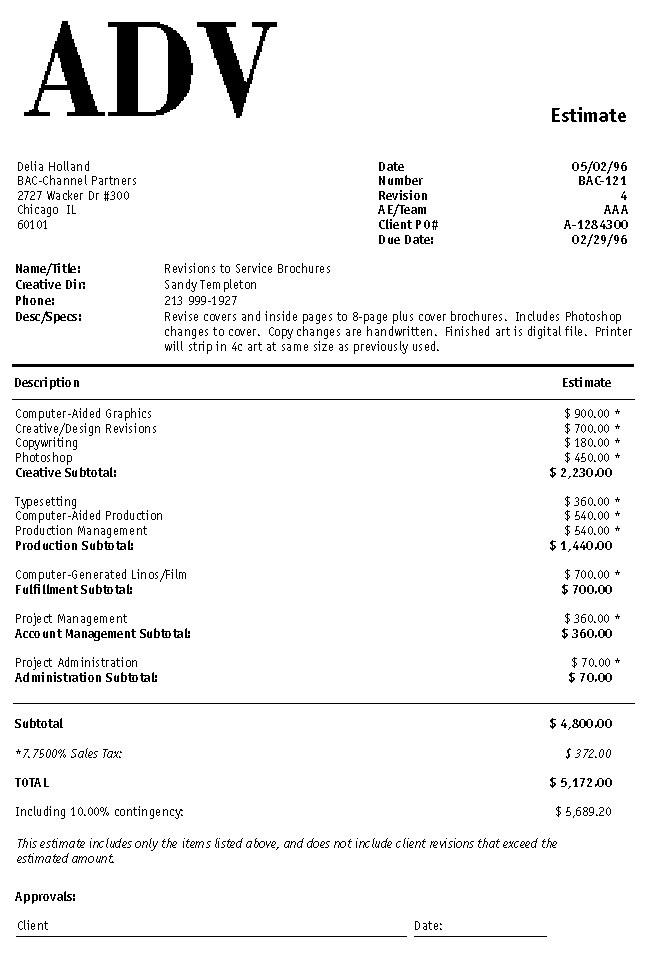
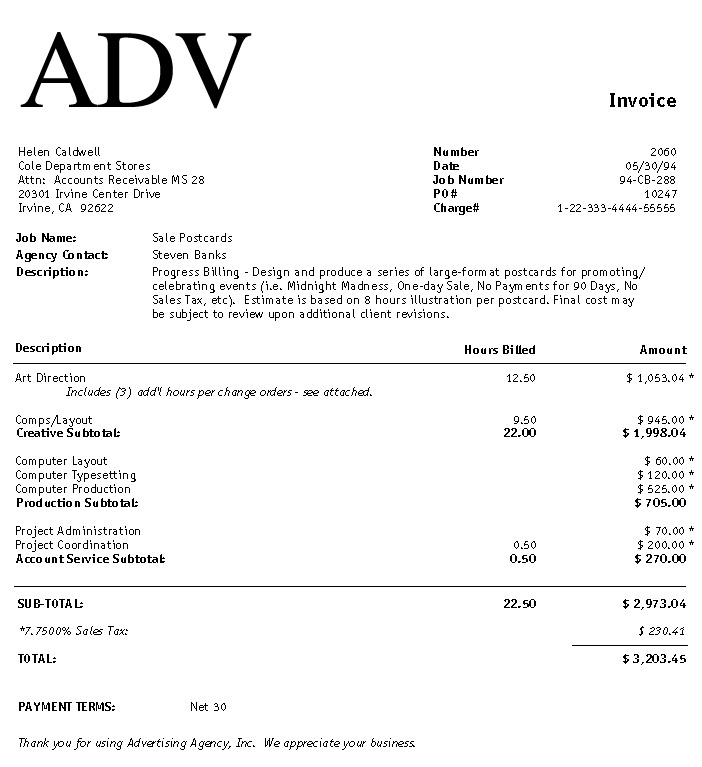
Client Contacts
The client contact that you enter in the Job Description window will appear
on Estimates and A/R invoices. Contacts include the people
responsible for the job, those who receive the statements
and other contacts that may need to be referenced. Your agency
contact is entered below the client contact, and will also appear on the printed
Estimate and A/R invoice.
To edit billing information
A job ticket can have billing information
specifically designed for corporate accounting
systems. This option makes tracking chargebacks
for different departments, cost centers, and accounts
easy and mostly automatic. Billing information
is typically used by in-house agencies or by agencies
with corporate clients who need better accountability.
It appears only on printed estimates and invoices.
To edit the job’s billing information, choose
Edit > Edit Job > Billing Information.
Cost
centers and account codes are entered manually
when the job is opened, or any time thereafter.
Any percentage of the job’s estimate and billing
amount can be split between the nine cost centers.
The percentage amounts are broken down on the printed
estimate and invoice, based on the job’s total
estimate and billing, respectively. The job billing
information has no affect on your own general ledger
or profitability reports -- so you may not need
it.
Associating open jobs with client projects
A job ticket is opened for every project the shop
gets, including internal work, client presentations,
and pro-bono jobs. The project associated with
this job can be selected from the Client Projects
lookup list (Lookup > Client Projects).
It is imperative when adding or editing a client project in this window that you use the Client Projects Lookup list to enter the project that this job belongs to. Click inside of the projects field, then choose Lookup > Client Projects. Double-click the project from the lookup list, and it will appear in this field. It's important to use the lookup list to avoid any input errors that may be caused by manually typing the name of the project in. If the name of the client project is off by a single letter, the job will not show up in the client project.
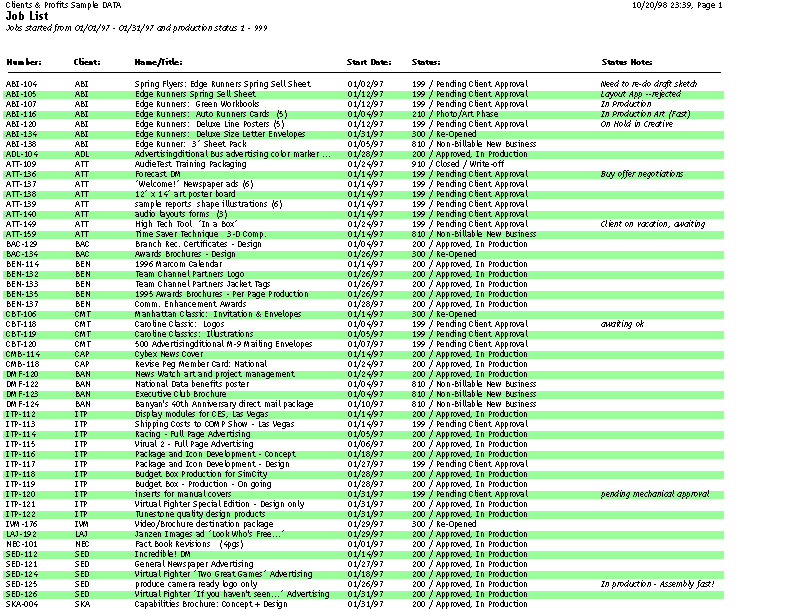
The Job
Lists report lists jobs by project name. Jobs are grouped by
project name, showing the job number, job name,
start and due dates, and production status. Jobs
without project names are listed first.