Free help: USER GUIDE
Home > Clients & Profits X User Guide > Media > Add Space Buy

|
Clients & Profits X Online User Guide |
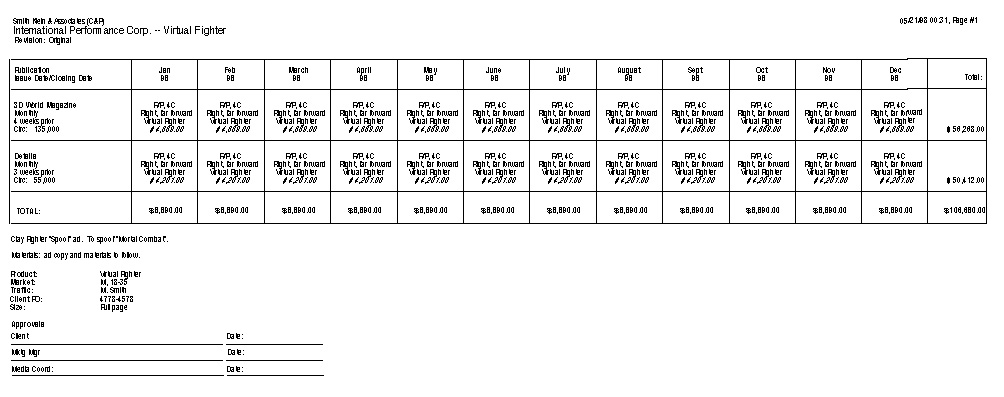
The print media plan is incomplete without buys for ad space. Space buys indicate exactly which ads are running on each publication during each of the plan's twelve months, weeks, etc.
One print
media plan can contain space buys for dozens of different
publications, or many buys for the same publication. Each space
buy features customizable fields that are defined by the media
buyer, but typically include a position, size, and description.
The Add Space Buy window changes depending on the plan's kind -- daily,
weekly, or monthly. Regardless of the plan's kind, all space buys appear
on media reports together. The media plan's periods (i.e., months of
the year, days in the week, etc.) are defined when the plan is added,
so they can't be changed when adding space buys. Also, different periods
can't be mixed on the same print plan (i.e., weekly ads together with
monthly ads).
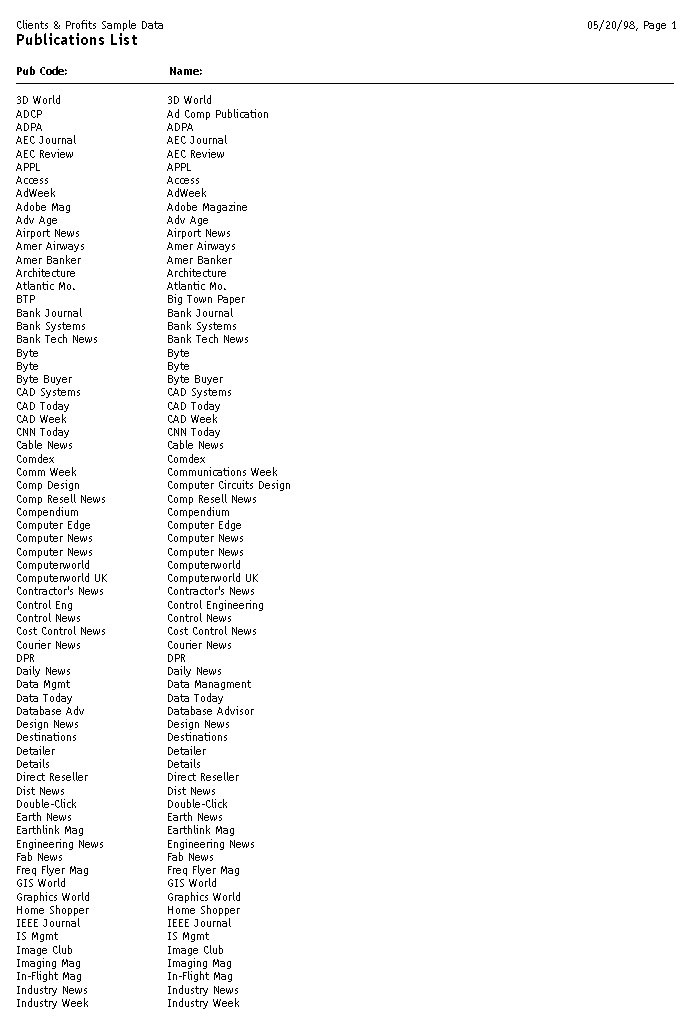
Space buys on print media plans use the Publications table, so you don't
need to reenter the publication name. (If you don't know the name of
the publication, the lookup
list opens automatically.) Ad size and cost information is copied
from the Ad Sizes lookup table, and can be changed on a specific media
buy.
To add a space buy
1 From the Print Media Plans window, find a print
media plan.
2 Click the Add Buy button
(or choose Edit > Add Time/Space Buy).
The Add Space Buy window opens, prompting you to enter the space buy's
publication and ad schedule.

3 Enter the space buy's publication code, then press
Tab.
If you don't know the publication code, leave it blank then press Tab
to open the Publications
lookup list. Double-click on a publication code to copy it to this
space buy. You can also add a new publication from the Lookup window
by clicking the Add button.
4 Enter the ad code/caption and rate basis.
Both fields appear on the printed media plan for the client's information,
and don't affect the ad's actual cost, the job ticket, or the insertion
order.
5 Enter the first month's ad by tabbing into the top
line of a period, then clicking on the Ads button.
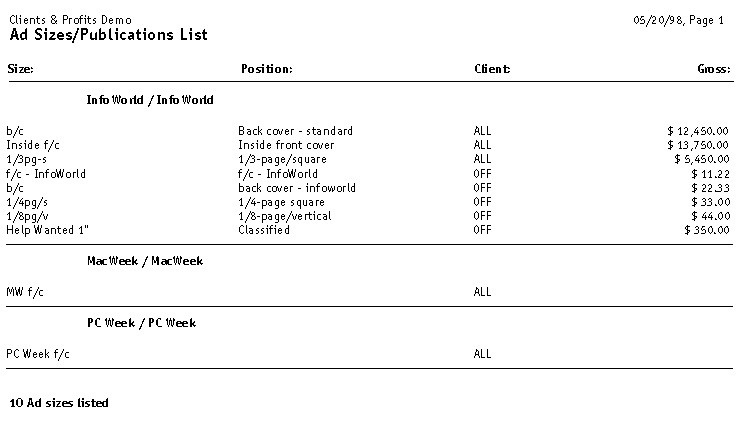
The Ad Sizes
lookup list opens, showing the publication's ads. Double-clicking
on an ad copies it to the space buy's selected period. Tabbing past the
ad size displays the ad's gross amount and description from the Ad Sizes
table. If no ad sizes have been set up for this publication, any kind
of information can be entered into these fields instead.
6 Enter the ad sizes, etc. for the remaining months
that the ad will run, then click Save.
The first line of each schedule interval tracks the ad size. If the ad
size is found in the Ad Sizes table, its cost is copied to the space
buy. If the ad size doesn't match, you'll need to enter the cost, position,
and other details manually. To see a list of the pub's ad sizes, click
the Lookup Ads button to open the lookup list; double-clicking on an
ad size copies it to the space buy.
Each space buy also contains the space closing and materials due dates.
This information, as well as the space buy's position, description, and
cost, is copied to insertion orders automatically. Eventually, the buy's
details appear on the client's media invoice.
You can add, change, and remove space buys from a print media plan any
time -- just like tasks can be added, edited, and removed from jobs.
Once you've added all of the media plan's space buys, it can be printed
for the client's approval -- and the insertion orders are created automatically.